Removing the Service Station
Directions:
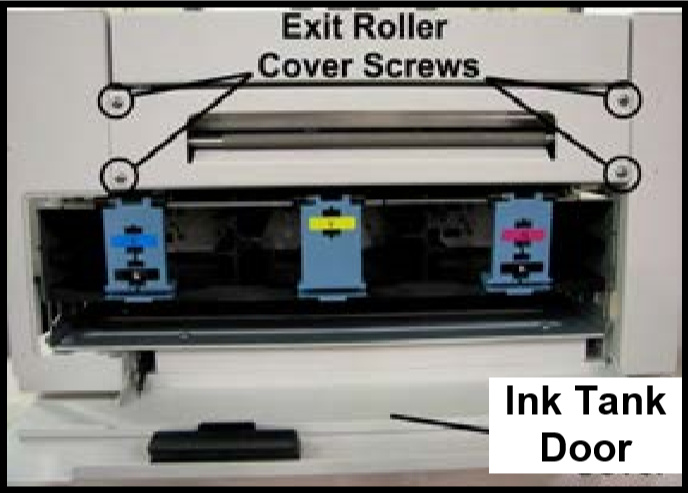
| 1. Open the Top Cover | |
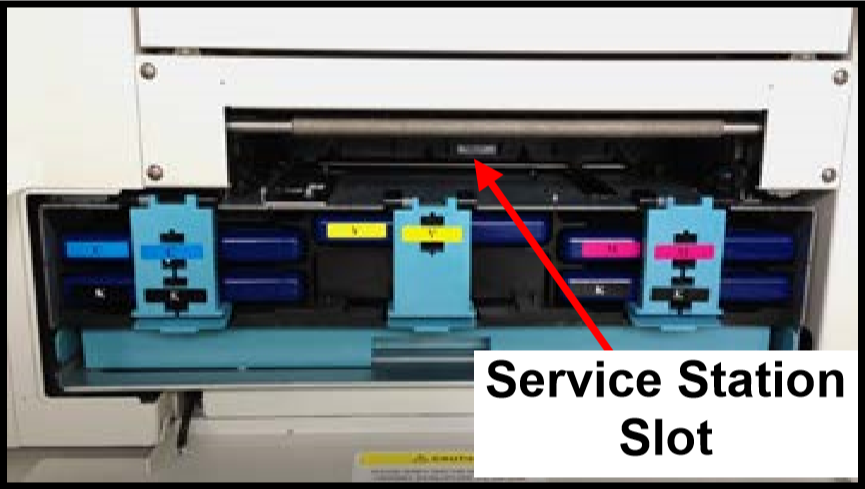
| 2. Open the Ink Tank Door (hinged at bottom) to expose the “Service Station Slot”. Tip: On older units you will need to remove the Exit Roller Cover by removing the four (4) screws. This is not necessary on newer units. |
|
| 3. Power-up the printer. | |
| 4. Open the Printer’s Toolbox. Open the “Service” drop-down menu. Select “Eject Service Station”. | |
| 5. Once the Service Station has ejected; power OFF the printer. Press the ON/OFF button once and wait about 45 seconds for the print engine to power off (all control panel light’s off). Then turn the Main Power Switch OFF. | |
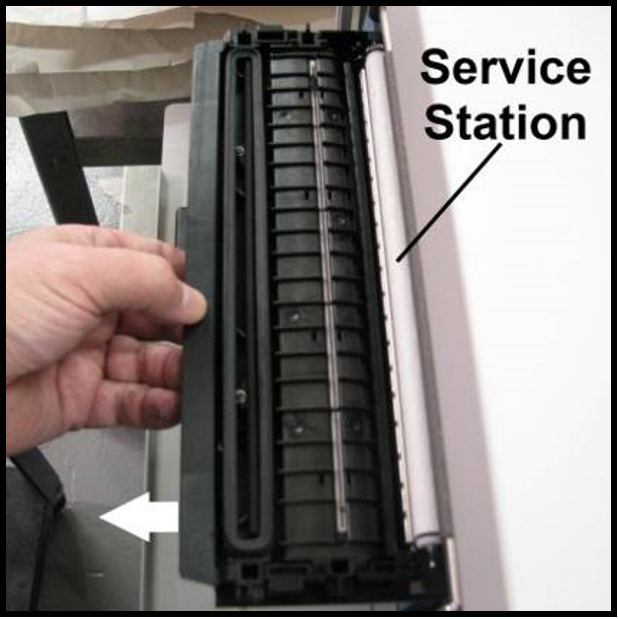
| 6. Slide the Service Station out of the Service Station slot. CAUTION: There is a Ribbon Cable attached between the service station and the print engine. Do not pull the Service Station out too far, with this cable connected, or you may damage the system. NOTE: It is a good idea to place an absorbent towel under the Service Station, as you remove it, to catch any ink drips or leaks. |
|
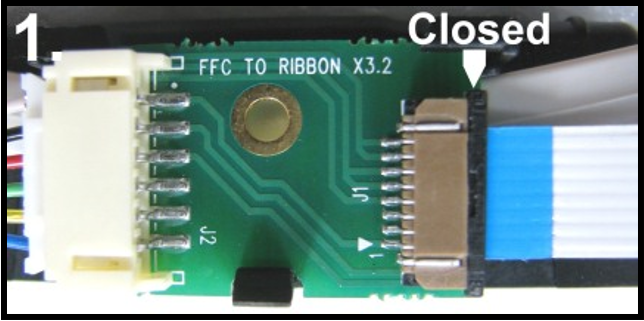
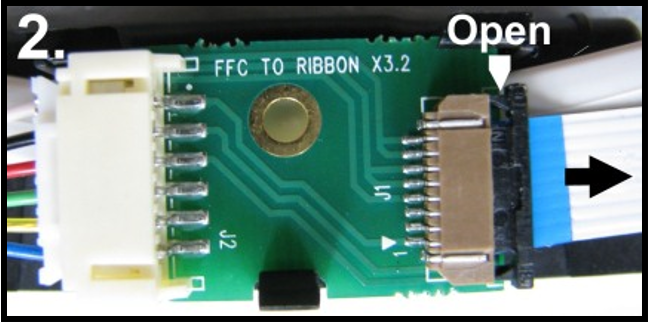
| 7. Disconnect the Ribbon Cable. Slide the Latch open on the Service Station Circuit Board to release the Ribbon Cable. CAUTION! This latch can be broken if you pull it out too far. Be careful! |
|
| 8. Remove the Service Station completely from the print engine and place it on a non-absorbent surface (plastic bag) to protect the surface you are placing it on. | |
| 9. If you are cleaning or replacing items in the service station; please see the next section titled “Cleaning the Service Station”. | |
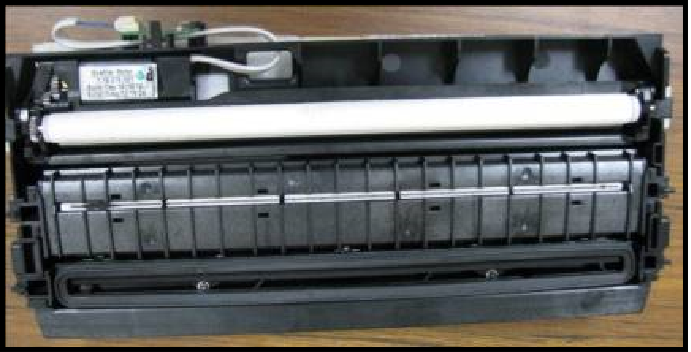
| 10. If you are replacing the Service Station; carefully remove the new Service Station from its packaging. NOTE: Loose parts may fall out. Keep roller side facing up. Please see the section titled “Installing the Service Station”. |
|